Preparation
At first I'm going to scan part of blueprint with help of regular
flatbed scanner. Blueprint is very large, almost size of my
desk. Fortunately, the required part of drawing can be fitted into the
scanner's work area. My old scanner HP 4670 could be very good for such
purposes, it has transparent work area and can scan even walls. But it
was broken and I should use
another one. For scanning we can use priScanner Express.
priScanner Express has convenient large preview window,
which is very good for my task. When scanning in blueprints it is very
hard to align document properly, so image will be created with a slant.
In my particular case walls are not horizontal or vertical. Deskew
feature ( image rotate ), will fix this problem.
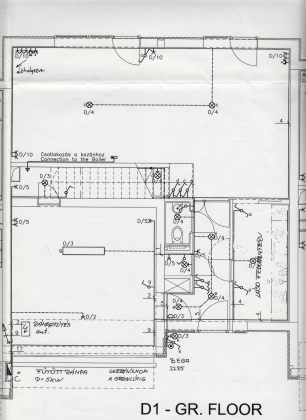
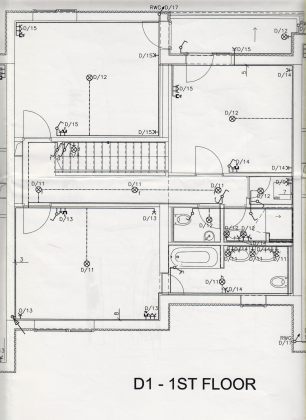
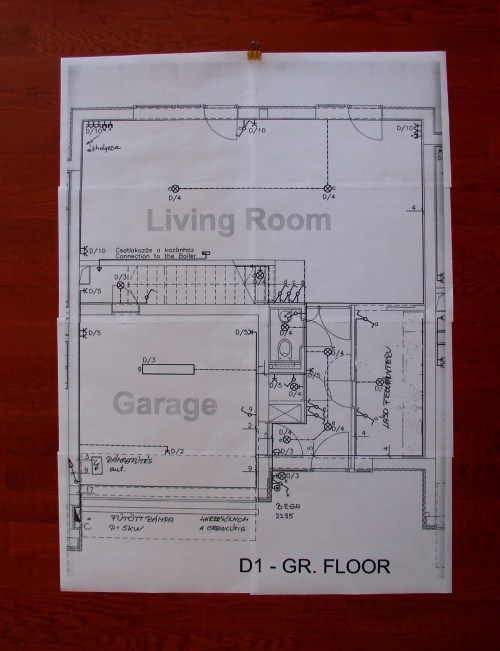
You can see an example of scanned documents above. Walls on the images
are perfectly horizontal or vertical.
There are several ways to open an image with priPrinter. One easy way is
to grab the image file, drag it into priPrinter, and drop it there.
Another way will be in using Open dialog from File menu. The one note to
using this method is that you need to have priPrinter already up and
running. Of course you can open image in MS Paint or Photoshop and print
image to priPrinter. I've been using drag&drop. Image
below shows how priPrinter looks after that.
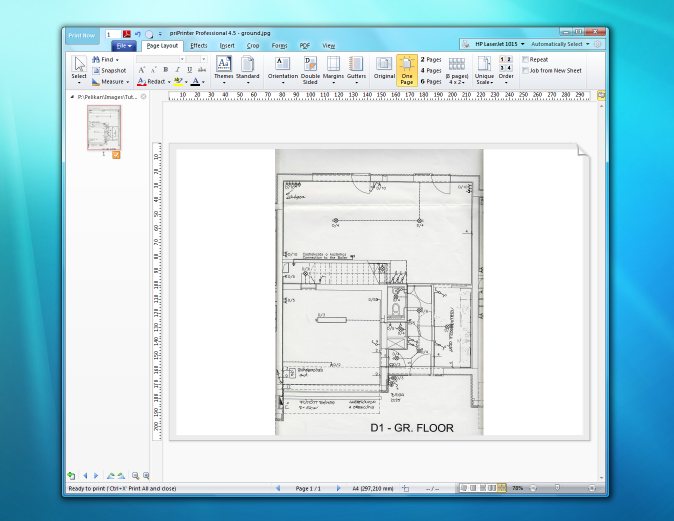
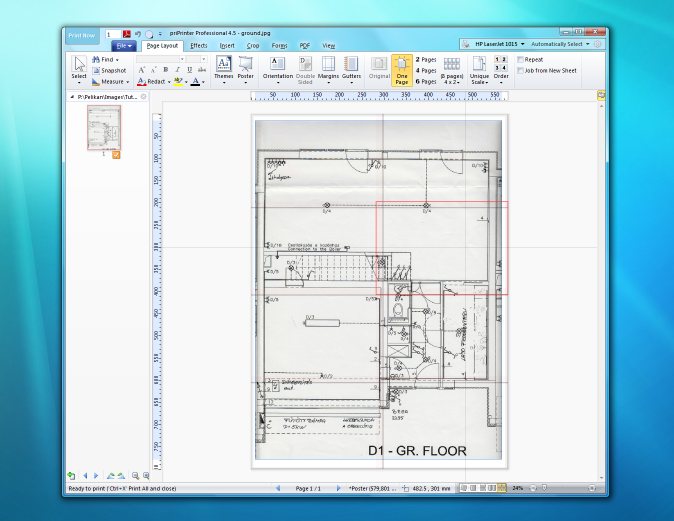
 Ok,
my floor plan is opened and with my current settings will be printed on
the single A4 paper. In your case it could Letter or any other paper
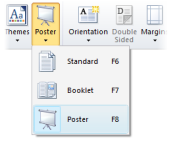
size. To enter the Poster mode press the icon as shown right here (you
can also select Poster mode with the ‘F8’ keyboard
shortcut).
Ok,
my floor plan is opened and with my current settings will be printed on
the single A4 paper. In your case it could Letter or any other paper
size. To enter the Poster mode press the icon as shown right here (you
can also select Poster mode with the ‘F8’ keyboard
shortcut).
I'd like to have a poster of 600 x 800 mm in size approximately. This
size can be specified in priPrinter directly and
priPrinter should calculate number of pages. Another way
will be in specifying number of pages. I'm going to use last method.
Poster can be made of 8 paper sheets - two sheets in
horizontal direction and four in vertical. Each sheet is A4 size,
landscape orientation. Poster size will be 800x 580 mm. Exact size
depends on printer margins. 800 x 580 mm is almost perfect.
Right now I'm going to print only the ground floor, first floor can be
processed in the same way.
We may want to check important parts of our drawing. It's good to keep
them away of cut lines. Of course this is not always possible and not
that important. At least we may try move vertical walls away of vertical
cut lines. Same with horizontal walls. In order to do that, we can move
page across poster surface. However it is good to have some lines or
figures on the border of paper sheets. It helps to attach sheets of
paper together.
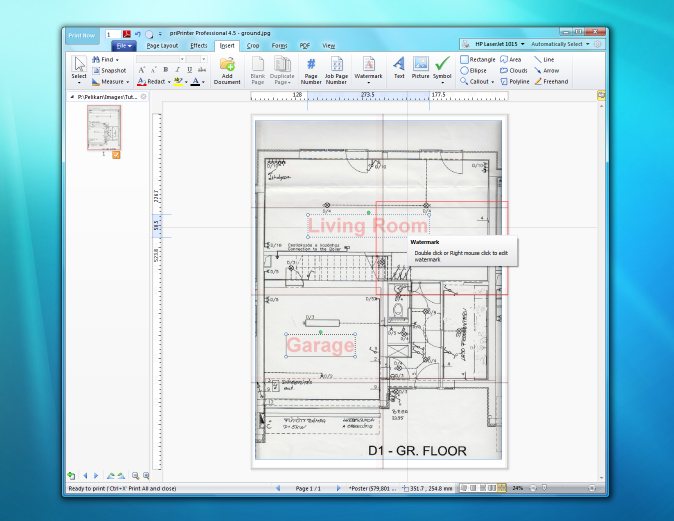
Everything is good with drawing itself, but I need to put some comments.
I select Insert tab, there I can create text markups. For instance I can
highlight Living Room and Garage. Also it can be helpful to outline
phone and electric wires, water pipes, etc.
Printing
We are almost finished all preparations and may print. However I've
just found that drawing has gray background. Of course it was better to
fix this problem in image editor in very beginning. I will try to fix it
now, with help of adjustments controls. Let's go to Effects tab and play
with Brightness and Contrast in order to improve image.
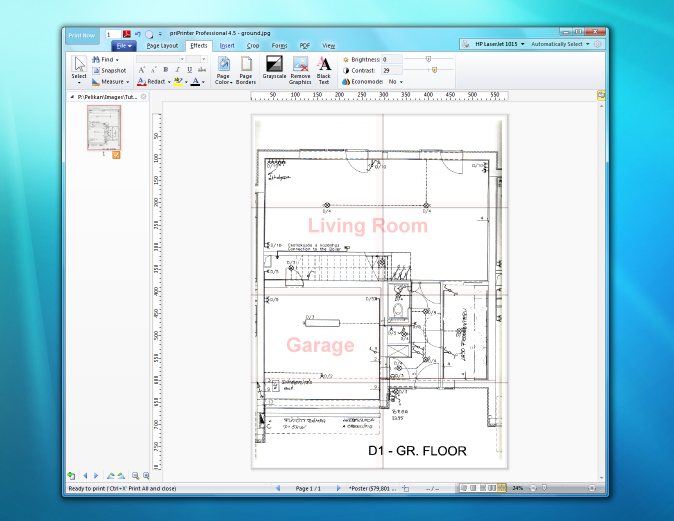
Gray background is almost gone, it's much better now. At least I
think so. We may try to remove left and right gray borders, but this is
not critical for me and makes this drawing looks live.
GO! Click the Print Now button on the
priPrinter's main window or select Print from File menu. We
should receive 8 sheets with parts of our poster. Use the scissors to
cut borders and glue to paste them together.
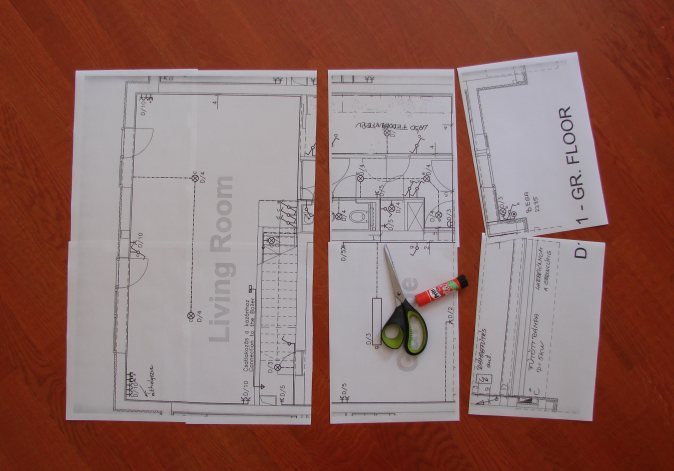
Half is done, rest sheets are waiting to be attached to
poster. In case if we did something wrong, we can print
required part again. In order to do that, right click on required sheet
and select "Print this part or poster".
Ok, this is it. Finished poster is on the photo
below.
Usually printer shifts each a page a bit. As result, edges of
poster are jagged. We may cut borders a bit with scissors. In
that case, it may be reasonable to increase margins in advance. However,
I'm fine with that.
priPrinter allows to select pages to print in print preview pane.
All tutorials
This tutorial was initially prepared by priPrinter user.
Designated trademarks, brands and art are the property of their
respective owners.