Preparation
I've got the material in the PDF, so I need just print it with
priPrinter. Open the PDF in Adobe Acrobat Reader, click on the Print
button and select priPrinter in the Printer List.
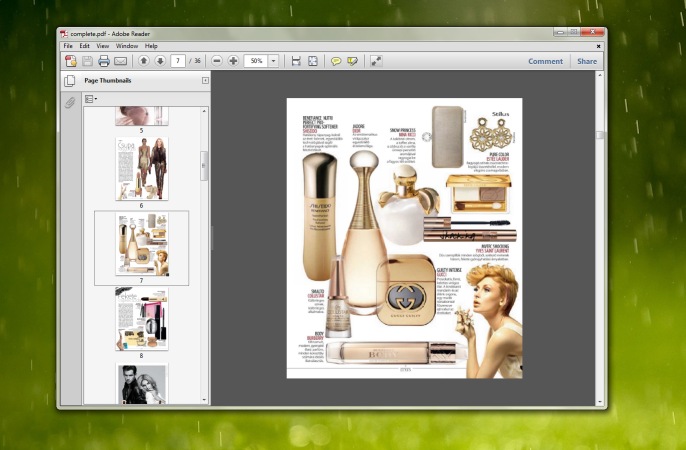
Immediately priPrinter opens. I can see my document, but only one
page of 36. Oh no… I have to go again in Adobe Acrobat Reader to my PDF,
click on the Print button and check that print all pages is selected.
Now everything is ok - I see all the 36 pages.
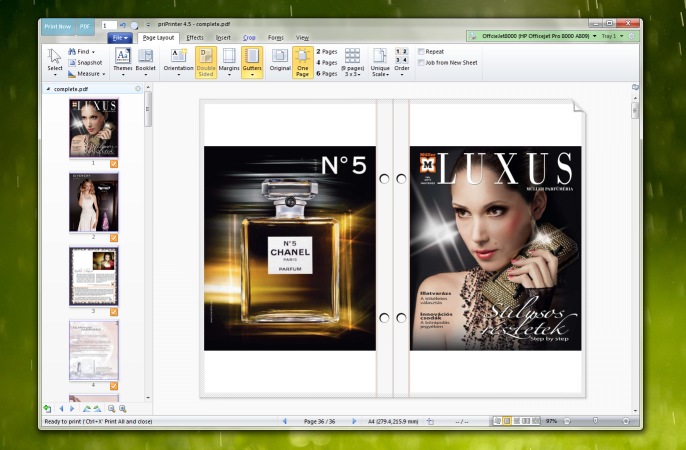
So, I select the brochure mode in the page layout tab. I’m getting
the look of paper sheet with two pages. Now I should define gutter
position and size. Position is correct already, but I want to adjust its
size a bit. I click on it and drag to required size. I can do the same
in page properties dialog by typing exact size, but I’m fine with mouse
drag.
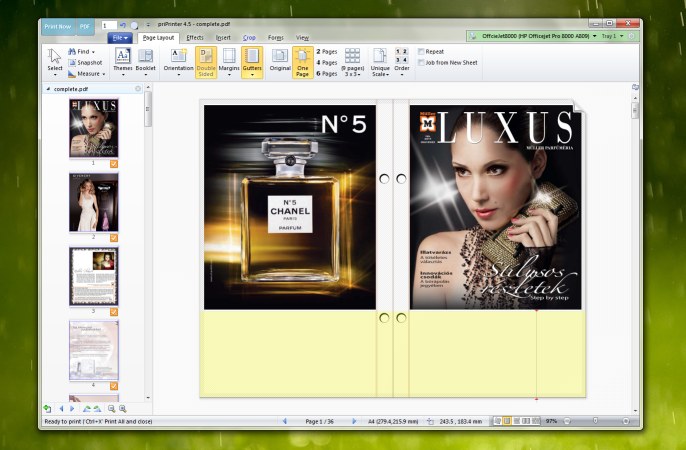
Next task is to move pages on top of the paper. Every page should be
in the same position as other pages. Size should be equal as well. In
order to achieve this, I can make bottom margin bigger. Again, I can do
this in Page Properties dialog and with help of mouse. In this case
prefer mouse. So I’m clicking on the bottom margin and dragging it up.
Margin becomes bigger, pages go up. When everything is fine I’m
releasing mouse button. In the same way I can adjust any margin or play
again with the bottom.
Ok, I’ve got a lot of empty space in the bottom and I can use it for
providing information about our company: address, phone, e-main, Fax,
something else.
I go to Insert tab, click on Text button. By placing mouse on any
page I may define initial position of text.
I’m trying to move it below pages, but can’t do it. Position of text
is limited by some border line. By default position of text is limited
to the page and it can be printed on this page only. I should put this
text on the all pages, and… below source pages. I’m clicking on this
text in order to somehow customize this text, if possible. Properties
dialog appearing. I go to “Common” tab and select “Whole sheet of
paper”, also I should uncheck [X] Current paper check
box. Now I can move text to any position and it displayed on all pages.
I go back to that dialog, in the first tab I change “Text” to details
of our company, select some good color and font. Click on Apply.
Everything is fine after some final adjustment of position. Text is
displayed on the both pages of booklet paper, same with front and back
side.
I can switch to 3d mode by clicking on 3D View in the right bottom
corner of this program.
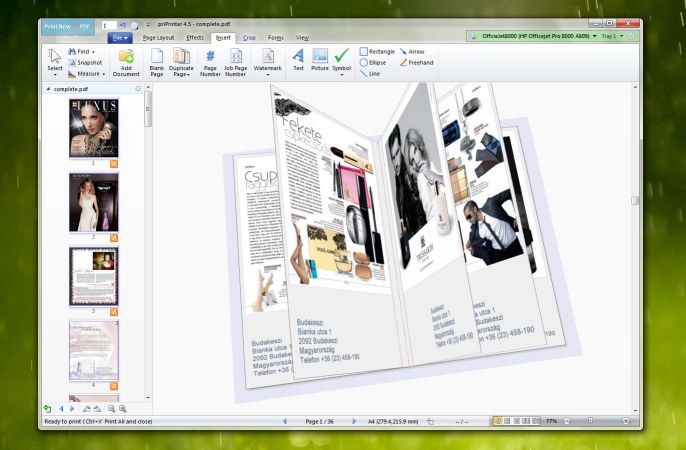
My brochure looks like real one and can flip over pages by mouse
wheel or scrollbar on the right. Everything is perfect, but how it will
look after printing? Let’s see.
Printing
So, I’m going to print booklet from 36 source pages. Two pages on
each side of paper sheet, two sides. Finally booklet should be made of 9
sheets of paper. After printing I will need to fold in two and staple
them together. Thanks god, my printer can print on both sides of paper,
so after putting paper in it, I may click on the Print
button.
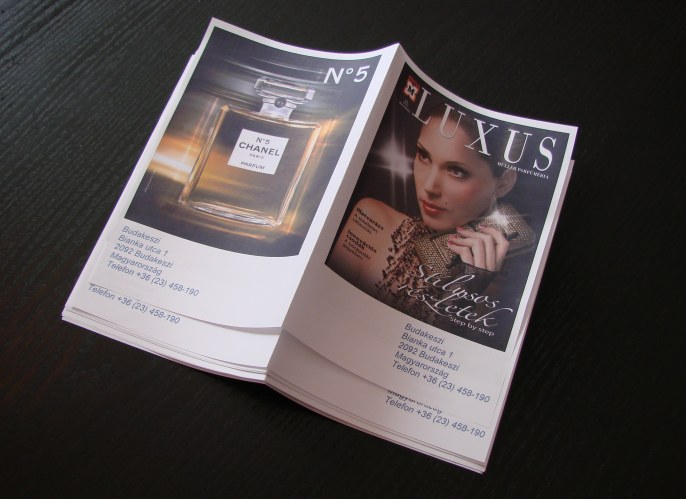
I get 9 sheets of paper, I fold in two each sheet. Finally, my
booklet is ready and I can print it as many as we need.

Real booklet looks exactly the same as it was on my monitor, no
bad surprises. Everything was simple! What you see is what you might
expect.
All tutorials
This tutorial was initially prepared by priPrinter user.
Designated trademarks, brands and art are the property of their
respective owners.


