Print Themes (profiles)
Theme in priPrinter is a combination of all priPrinter settings: page layout, margins, scaling, watermarks, form, etc. User is able to create as many themes as he wants and apply them to pages.
Theme may be applied to any document any time. For instance, you are able to switch from printing booklets to documents of any kind.
1Create.
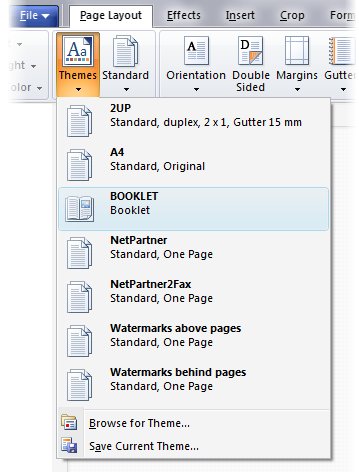
In order to create theme just save current settings to file by clicking on Themes button in Page Layout tab. In save as dialog you may specify which settings should be saved. Additionally you may save cropping information and printer settings.
2Select.
Select theme by choosing it from theme list. After selecting you may change some settings and work as usual.
3Modify.
In case if you want to correct theme, please select it first, make any corrections and resave it with the same name.
Multiple printers
You may create additional priPrinter printers and select specific theme for each printer. Selected theme will be applied automatically on printing to this printer.
For example first printer will print draft documents in 2 up double sided mode with large margins for comments. Second printer will print in single sided, one page mode with watermarks.
1Create theme.
Just save your settings to theme file.
2Create additional printer.
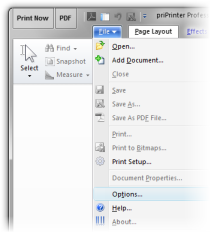
Skip this step if you did this already. Go to priPrinter File menu, select Options.
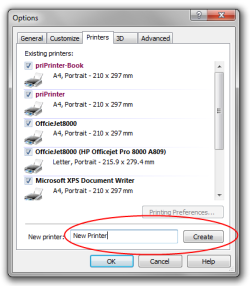
Go to printers tab. In this you may find list of your printers along with installed priPrinter printers. Type name of new printer and click on Create. New printer will be created.
3Select theme.
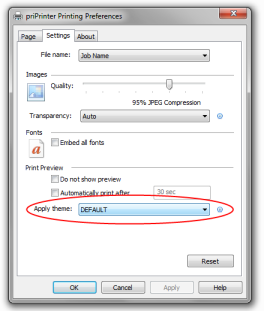
Now, go to your printers, find newly created printer and in printer preferences dialog, select desired theme.
In case of Windows7 it will be in: Start Menu -> Devices and Printers. Right click on printer and select Printer Preferences. Go to settings tab, and select theme.
Note:
Theme is .XML file of very simple structure, it partially described in priPrinter help file. You may send it to somebody else or share across your company.